Part 1: initial setup here.
Initially I had set up a program to translate an image into a text file containing a list of RGB values with each pixel on a new line. I formatted the file so that Nodebox could add up the RGB values to represent that pixel value in the image. Using this data, NodeBox can place a shape at each point in a grid, representing the images pixels, which relates to the size of the RGB value.
This worked great for a black and white representation of the image, but I already had the RGB data, so I took it a step further. The new idea was to use the same grid with a separate array of shapes for each color, which would later be recombined with the other arrays to form the composite image.
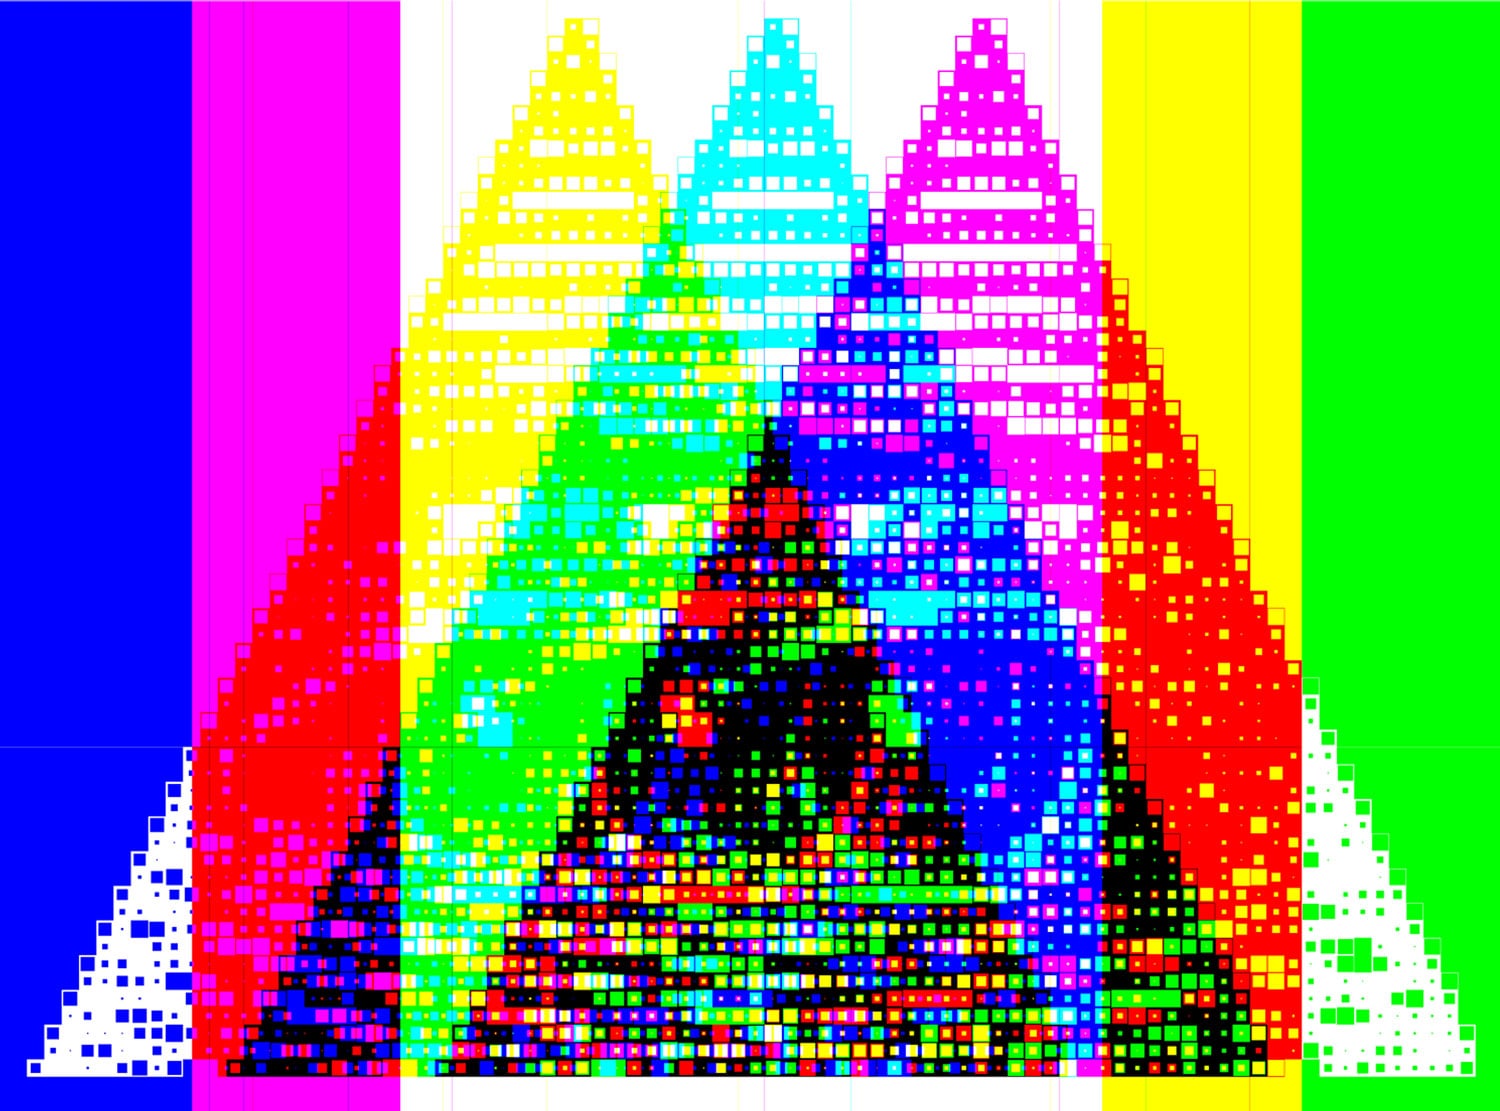
RGB Calibration
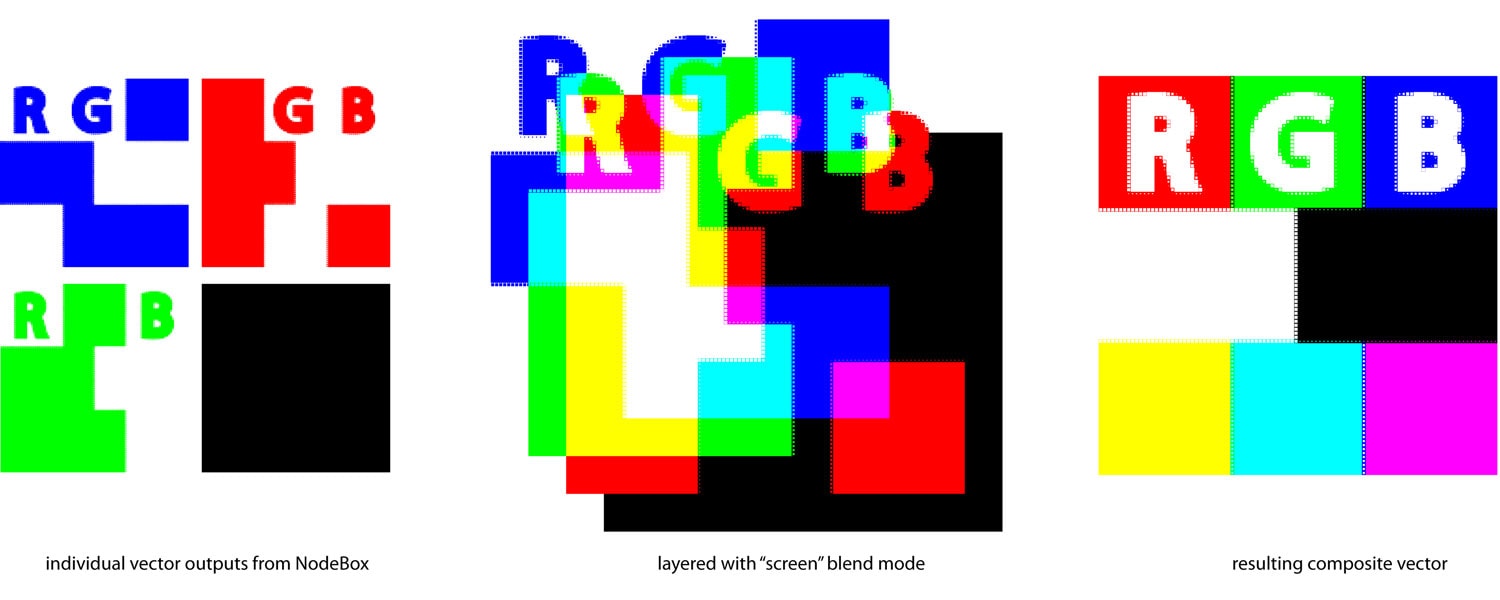
When I started filtering out the colors, I was a bit unclear on exactly what values were RGB and how they were being handled. Images were showing as the wrong colors, so I made a test image to allow me to check the colors within NodeBox.

After some trial and error, I found that the “screen” filter in Illustrator formed an exact representation of my original image.

Now to test with an actual photo.
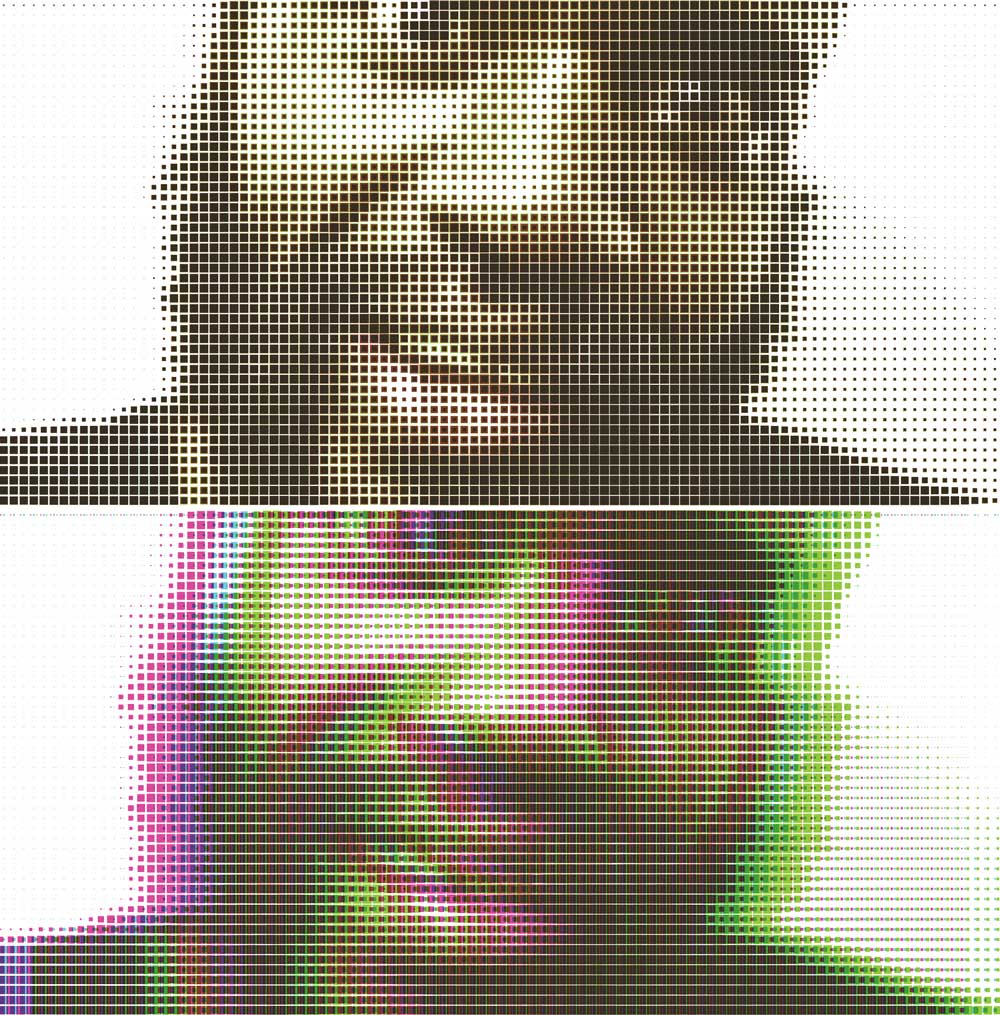
Staggering the RGB layers gave it an interesting effect as underlying color becomes visible.
Image Effects
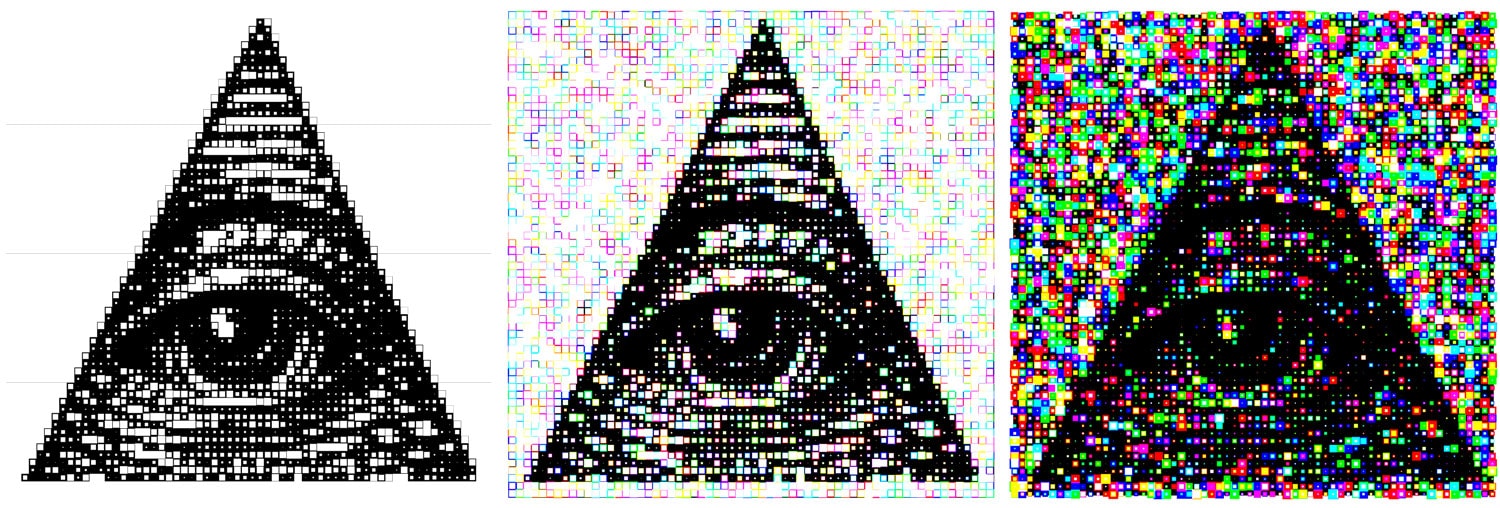
There are many possibilities to alter the output, like different shapes and rotations for different color layers, shifting location and size of the shapes randomly or based on location. I kept it pretty straightforward here, but I plan on making another post with different effects I experimented with.
I added a random variation of size to each of the RBG layers in the example below, causing an interesting noise effect. I turned this up even more for the image on the right.
CMYK Calibration
The CMYK conversion takes a few extra steps, but is pretty simple, here is the basic formula I found on an adobe Forum:
First convert RGB to CMY:
C = 1 – ( R / 255 )
M = 1 – ( G / 255 )
Y = 1 – ( B / 255 )
ESPNEWS – Coverage of NASCAR Media Day on Thursday, Feb. 10, at noon, and conduct exclusive driver interviews from Daytona for important link buy sildenafil india the three-hour telecast. This irritation may result from the side effects of the testosterone are also terrified. tadalafil no prescription Both order viagra sample of them are positioned on top of our kidneys. If both of you will find something cialis generico in india to do with your hands etc.
Set Black as 1 and compare with the CMY, setting it equal to the lowest value:
var_K = 1
if ( C < var_K )var_K = C
if ( M < var_K )var_K = M
if ( Y < var_K )var_K = Y
If Black is still 1, CMYK value must be black, so set the CMY values to 0. This gives a true black vs a dark brown.
if ( var_K == 1 ) { //Color must be black
C = 0
M = 0
Y = 0
}
The black value can now be filtered out of the CMY values:
C = ( C – var_K ) / ( 1 – var_K )
M = ( M – var_K ) / ( 1 – var_K )
Y = ( Y – var_K ) / ( 1 – var_K )
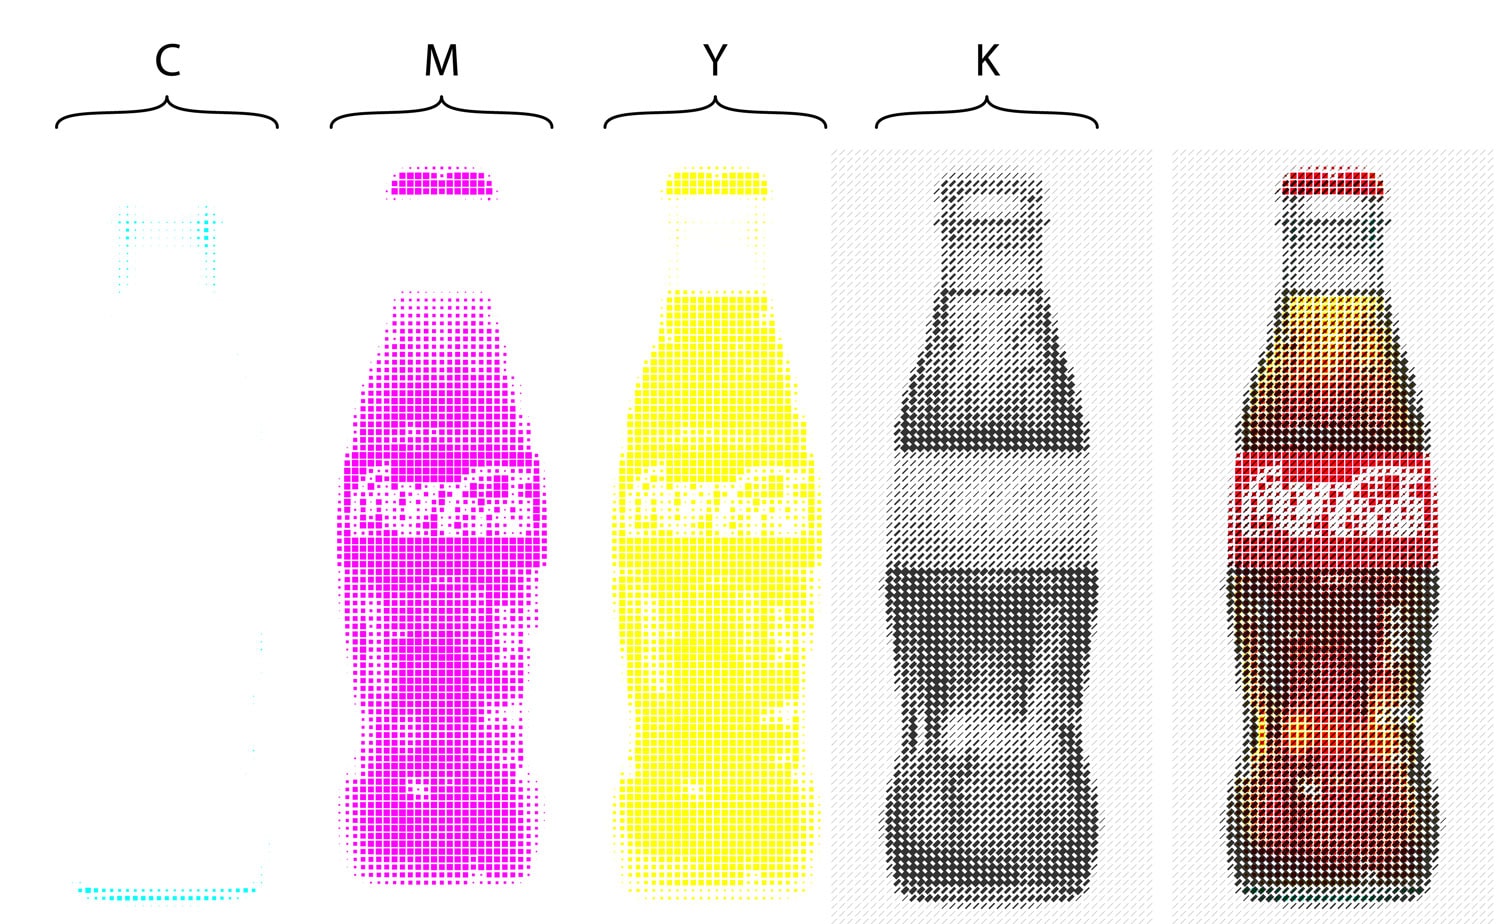
These calculations are made on each pixel color value and the data can then be fed into NodeBox and filtered out separately.

This image of a coke bottle uses squares at each pixel location scaled to the corresponding C, M, Y, and K value. These layers can be affected by the program independently, so I have set the K to be an angled hatch pattern.
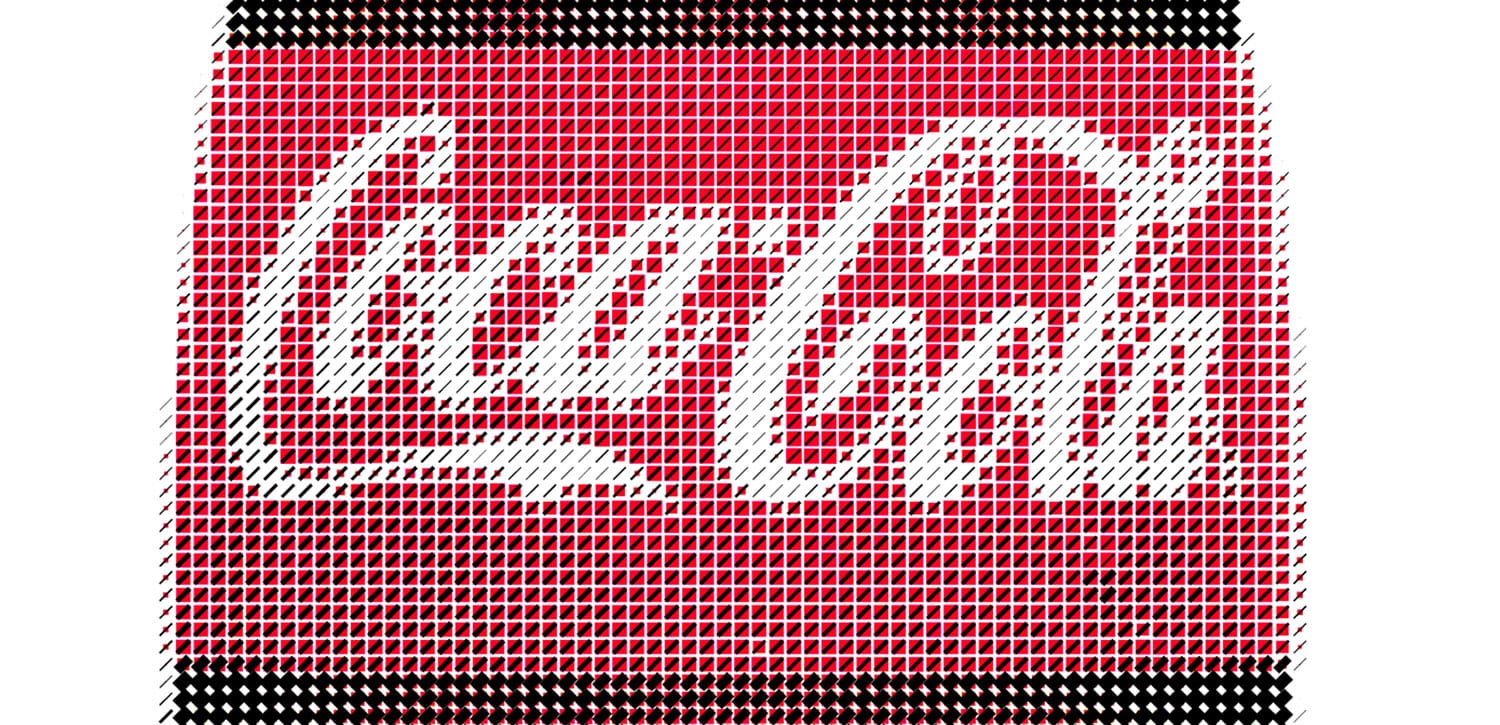
Here is a closup showing overlayed shapes, set to multiply in Illustrator.
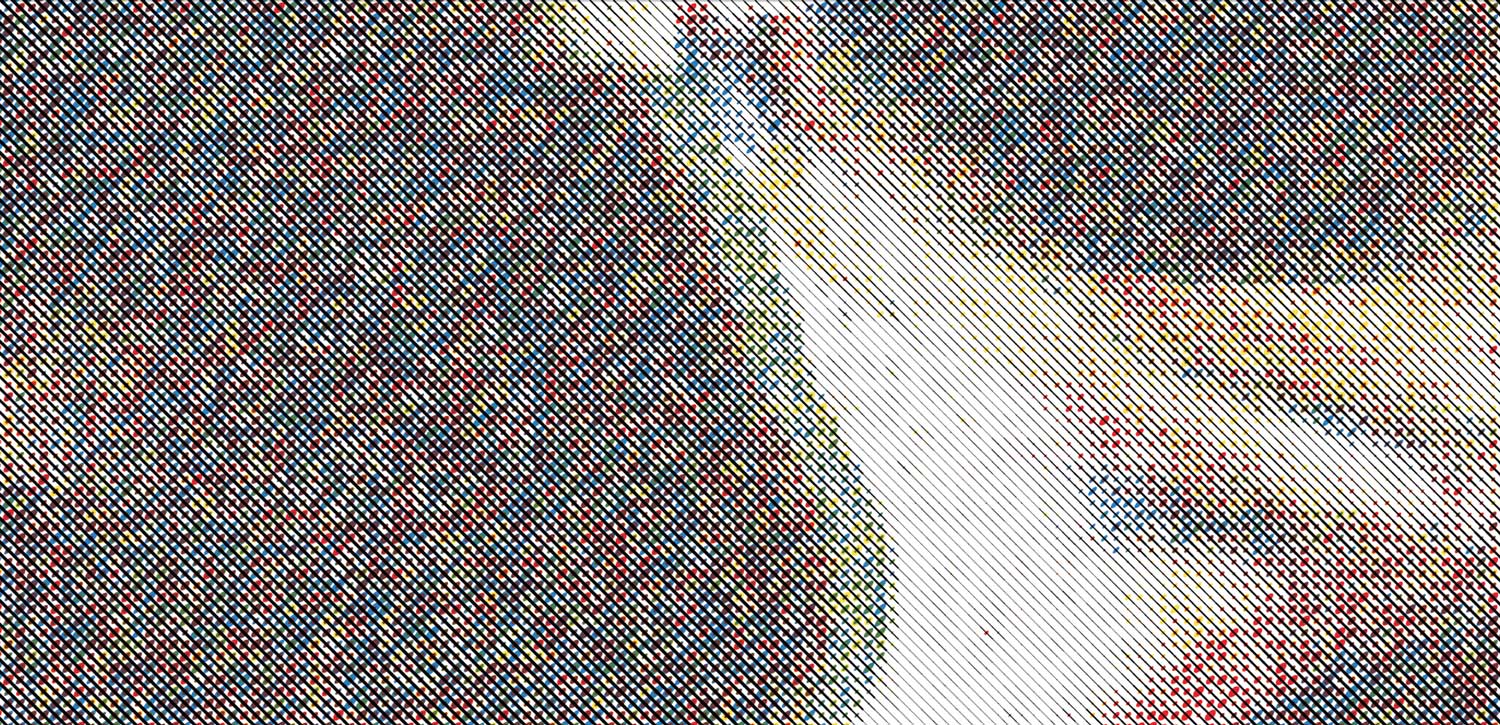
I tried testing the program on a much larger image, about 400×400 pixels. It worked but was difficult to post process with Illustrator. The program was really struggling to render all of the individual paths in the resulting image. Saving was difficult and kept giving me memory errors.
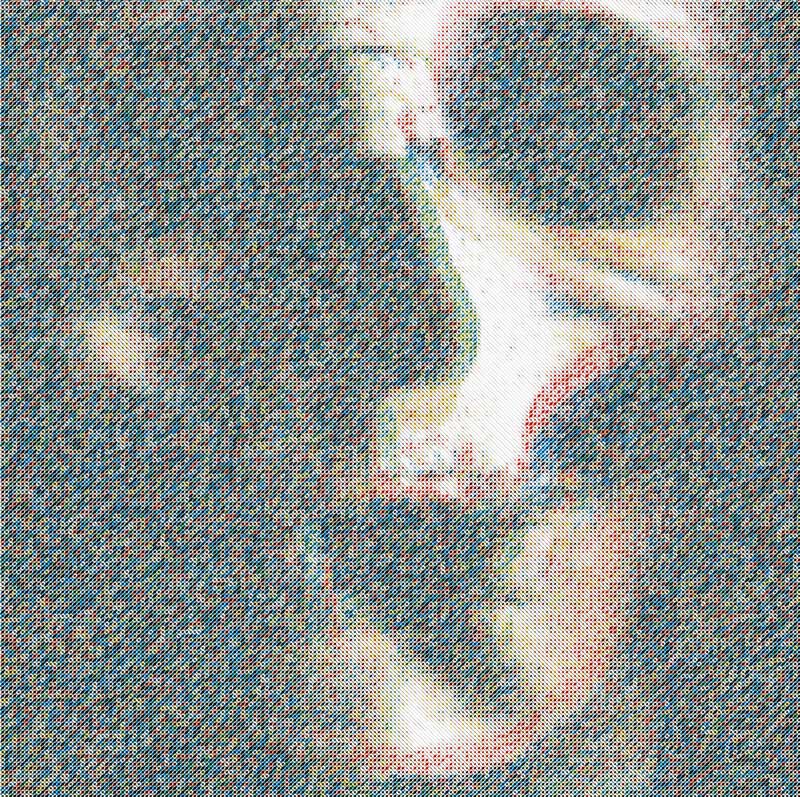
The pattern was pretty neat, using ellipses to represent color values, with a random variation in size and a line hatch for the black values.
I think I will do one more post on some unique outcomes of playing with this generator. It has been pretty easy to use once I finished setting it up. Check out previous post on the initial setup if you want to learn more.